
A test cut is not a miniature rehearsal performed only by cautious beginners. It is the quickest way to learn whether a file, material and machine are ready to work together. Ten minutes spent checking one joint or delicate detail can save a full sheet, a long engraving cycle and an evening of trying to repair a project that was wrong before the laser ever started.
The useful question is not simply, “Will the laser cut this material?” It is, “Will this specific design cut at the intended size, fit together correctly and survive finishing?” A good test answers those questions with the smallest sensible amount of material.
Inspect the file before sending it to the machine
Open the design in the software you normally use and look past the finished preview. Confirm the document units, overall dimensions and number of layers. Check whether cut, score and engrave paths are separated clearly. A line that looks fine on screen can still be duplicated, left open or assigned to the wrong operation.
Zoom in at corners, narrow bridges and densely detailed areas. Remove duplicate paths so the machine does not cut the same edge twice. If the project uses slots or tabs, identify one representative joint that can be isolated for testing. For a layered picture, choose a small area that includes both the finest detail and an important alignment point.
- The imported dimensions match the designer's stated size.
- Cut, score and engrave paths are assigned correctly.
- No duplicate lines or stray objects remain outside the design.
- Closed shapes are actually closed and narrow bridges look intentional.
- The layout fits inside the usable—not merely advertised—cutting area.
Confirm the real material thickness
Nominal thickness is a label; actual thickness is what determines whether fitted parts work. A sheet sold as 3 mm plywood may be slightly thinner or thicker, and even sheets from the same package can vary. Measure the material with calipers in several places, especially when the project relies on press-fit joints.
Do not resize an entire slot-together file just to correct a joint. Scaling changes every dimension. Adjust the slot width or use the designer's thickness variant instead. Flat wall art is usually far more tolerant, but its smallest details still need to suit the chosen material.
Label a successful joint test with the material name, measured thickness, date and settings. A small physical library is often faster and more reliable than trying to remember which “3 mm” sheet behaved well last month.
Run a kerf or fit test when joints matter
Kerf is the narrow channel removed by the laser beam. It changes with the material, lens, focus, speed and power. If two parts must grip each other, a small difference can turn a clean press fit into a loose joint or a cracked tab.
Use the test piece supplied with the file when one exists. Otherwise, make a short strip containing several slot widths around the measured material thickness. Cut a matching tab, let the pieces cool and test them without forcing. The best fit depends on the project: a permanent glued assembly can tolerate more movement than a friction-fit stand intended to be taken apart.
Choose a sample that tests the difficult part
A small square cut from an empty corner tells you whether the beam passes through the material, but not whether the design will succeed. Your sample should include the feature most likely to fail: the smallest hole, the narrowest bridge, a tight curve, an engraved label or a fitted joint.
For layered artwork, cut one small cluster from adjacent layers and check alignment after removing masking. For a box or stand, test one corner rather than every panel. For an engraved product, include both the lightest detail and the darkest filled area so you can judge contrast and residue.
 Lamps & Lighting
Lotus Tealight Candle Holders Laser Cut Files
View product →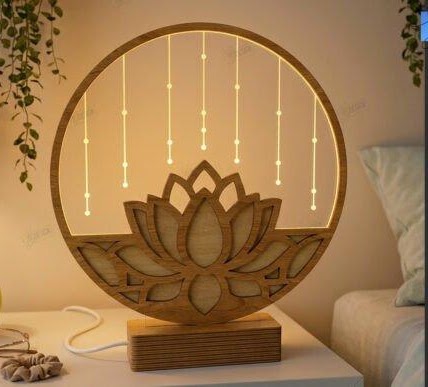 Lamps & Lighting
3D Round Lamp Laser Cut Night Light Files
View product → Boxes & Organizers
Modern Corner Shelf Laser Cut Files - SVG, DXF, EPS
View product →Record the complete setup, not only power and speed
Useful records include the material and supplier, measured thickness, machine, lens, focus method, power, speed, passes, air assist and masking. Note the result in plain language: clean edge, slight charring, incomplete cut, loose fit or good engraving contrast.
Change one variable at a time. If power, speed and focus all change together, the next result may improve without teaching you why. Also inspect both faces of the test. A clean top surface can hide heavy residue or incomplete cuts underneath.
Make a deliberate go, adjust or stop decision
Proceed to the full sheet only when the critical feature works, the edges are acceptable and the assembly behaves as expected. Adjust the file or settings when the issue is clear and limited. Stop when the design depends on details too fragile for the material, when fitted parts would need extensive rebuilding or when the full job would exceed a safe, predictable process.
The failed test is not wasted material. It is the cheapest point at which the project could reveal the truth. Keep the successful sample and your notes beside the file, and the next cut becomes production rather than another experiment.