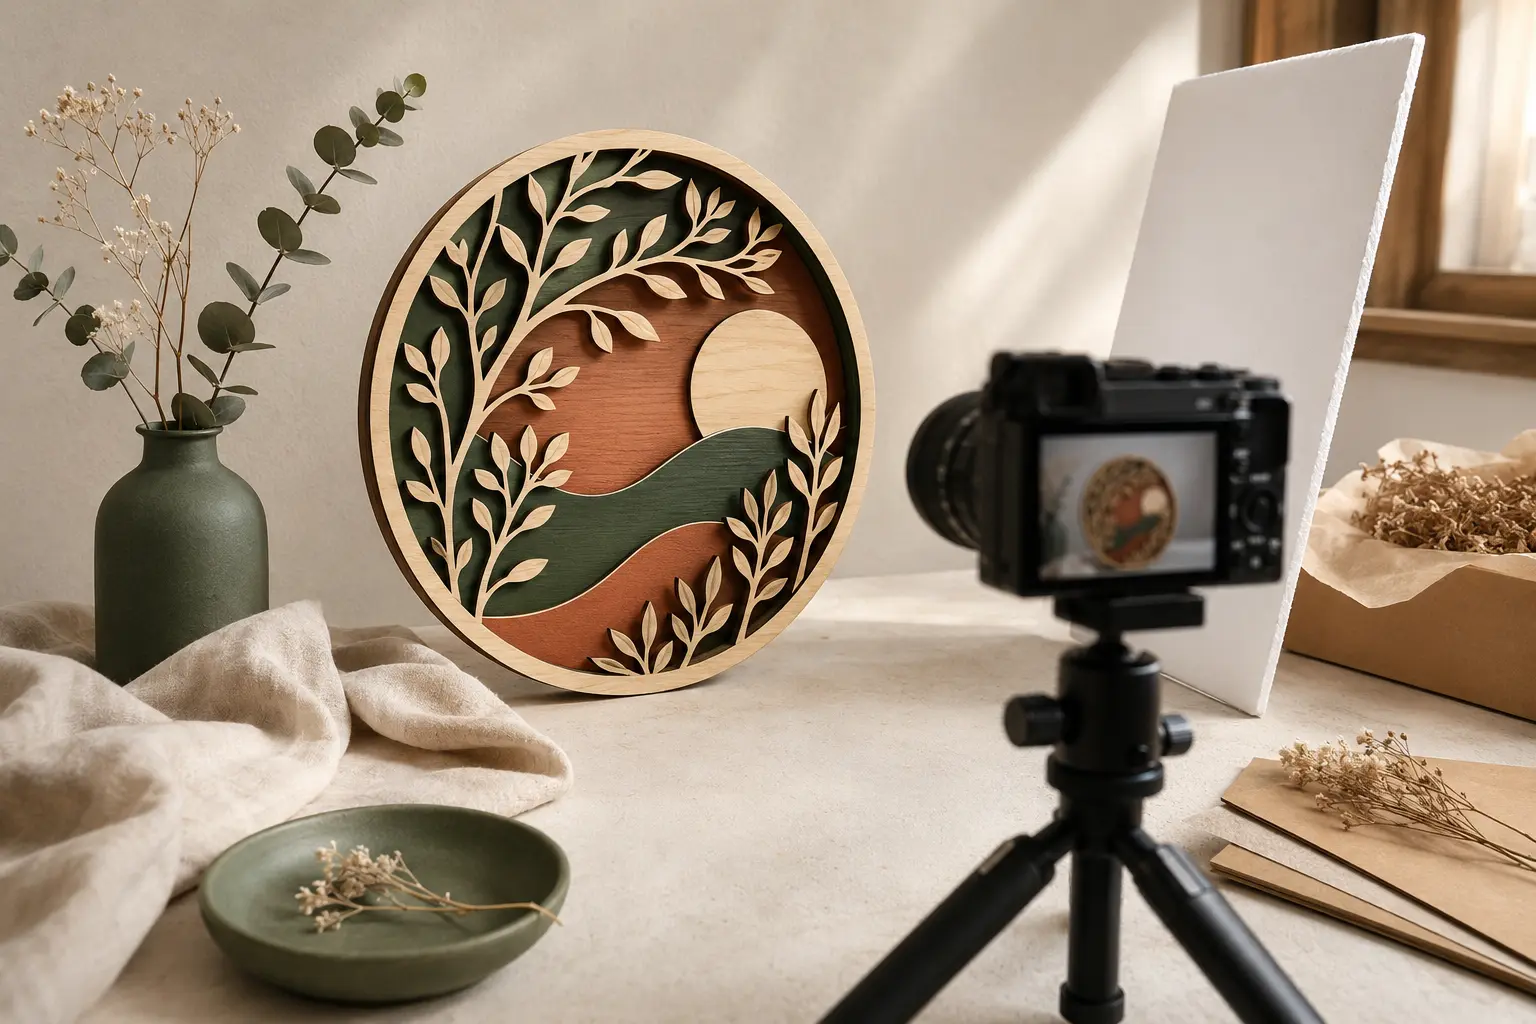
A product photograph has a practical job: help someone understand an object they cannot hold. Laser cut pieces make that harder than it sounds. Fine edges disappear against a busy surface, shallow layers look flat from the wrong angle and an attractive close-up can leave the buyer with no idea whether the item is eight centimetres or eighty.
You do not need a professional studio to solve those problems. You need soft light, a restrained setting and a short list of images that answers the buyer's questions in a consistent order.
Plan the complete photo set before styling
Begin with the listing, not the camera. Write down the facts a customer needs to see: overall shape, scale, depth, finish, personalization, mounting method and any pieces included in the order. Each important fact should have a photograph assigned to it.
A useful set normally includes a clean main image, a three-quarter view, a close detail, a scale or in-room image and a practical view of the back, stand or hardware. Personalized products may need one additional image showing realistic name lengths or layout variations.
Reduce the photograph to thumbnail size. The silhouette, material colour and purpose should still be understandable. If props remain clear but the product disappears, simplify the scene.
Use one large, soft light source
Place the product near a bright window with indirect light. Turn off nearby lamps so different colour temperatures do not mix. A white foam board opposite the window can reflect light into darker edges and costs very little. If direct sun creates sharp patches, diffuse it with a sheer curtain or move farther from the window.
Side light is especially helpful for layered files because it creates small shadows that reveal depth. Front light makes colour and engraving easy to read, while very low side light can exaggerate roughness. Choose the direction according to the feature you need to explain, then keep it consistent across related products.
Build a scene that supports the product
Start with a plain wall, paper sweep, linen or matte board in a colour that separates clearly from the edges. Pale plywood often needs a slightly darker or warmer background; dark acrylic needs enough contrast to keep its outline visible. Avoid strongly patterned fabric, visible clutter and glossy surfaces that introduce distracting reflections.
Props should establish context or scale. A book beside a small shelf, foliage near botanical wall art or a gift box beside an ornament can help. One or two are usually enough. Do not add objects that could be mistaken for part of the purchase.
Show depth, scale and useful details
Photograph the hero view straight and level, then rotate either the product or camera for a three-quarter angle. That second view reveals stacked layers, stands and dimensional construction. Use a close-up for the finish, engraving or joinery, but keep at least one wider image that shows the whole object.
For scale, place the product in a believable room or beside a familiar object. Measurements still belong in the description, because perspective can mislead. If the piece hangs, show how it sits on the wall and include a separate view of the mounting method. For lights, photograph one image switched off so the material remains visible and one after dark to show the effect.
 Home Decor
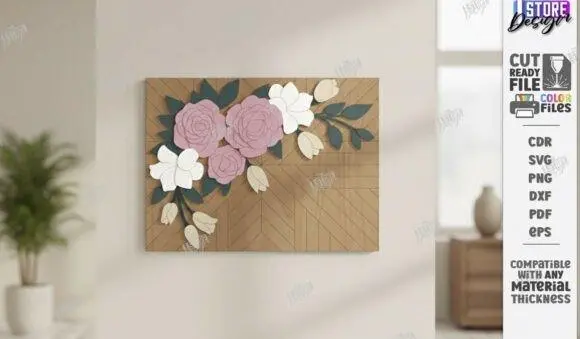
3D Floral Wall Art Laser Cut Flowers SVG DXF
View product →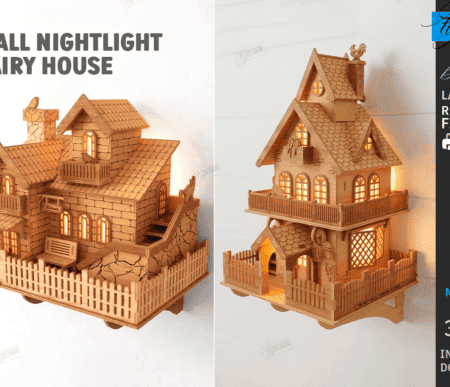 Lamps & Lighting
Fairy House Wall Nightlight Laser Bundle
View product →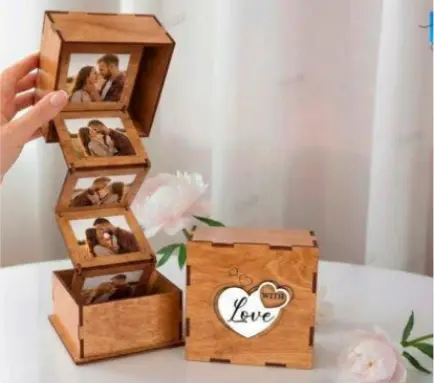 Boxes & Organizers
Wooden Love Photo Memory Box Laser Cut Files
View product →Edit for accuracy and consistency
Straighten the frame, crop with breathing room and correct exposure so pale wood does not become featureless white. Adjust white balance until the product colour resembles the object in ordinary daylight. Small corrections are useful; changing the material colour or hiding real construction details creates inaccurate expectations.
Use the same aspect ratio and similar spacing for every main listing image. A shop looks more trustworthy when products sit at a consistent visual scale. Export a large, sharp file for the marketplace, then check the compressed result on both a phone and a larger screen.
Make the setup easy to repeat
Mark the position of the background, reflector and tripod. Save a short shot list and one editing preset as a starting point. Photograph related products in the same session while the light and scene are stable, and capture both horizontal and vertical compositions if you also create social content.
- One clear main image with no visual confusion
- One angle that reveals depth or construction
- One close-up showing finish and important detail
- One image that communicates real scale
- One practical view of the back, stand, hardware or included pieces
- Accurate colour, consistent cropping and enough resolution
The goal is not to make the product look like something else. It is to make the real object easy to understand and appealing to the person already looking for it. Clear photographs reduce hesitation before the sale—and surprises after it.