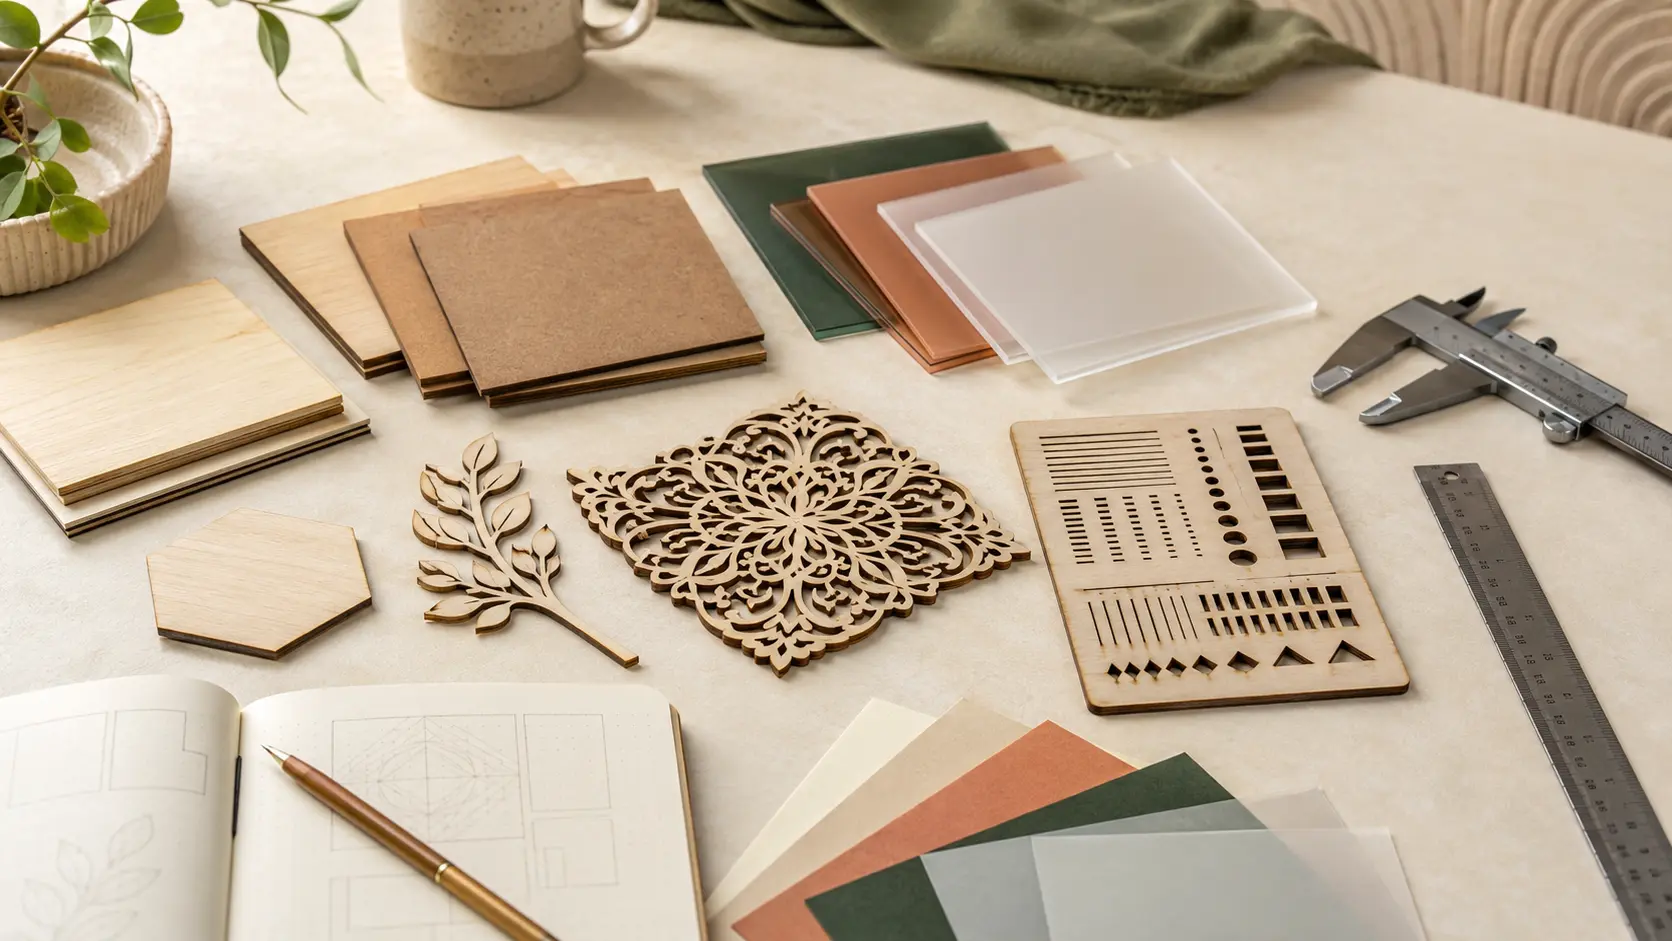
A beautiful project photo can make almost any laser cut file look irresistible. Then the download arrives, you open the folder, and suddenly you're staring at six formats, twenty unnamed layers and instructions that assume you already know everything. The best file isn't always the most dramatic one. It's the one that fits your machine, your material and the amount of patience you actually have today.
Choosing well before you buy saves more than money. It saves material, setup time and that oddly specific frustration of discovering halfway through a project that two tabs don't quite meet.
Start with the machine, not the picture
First, confirm that your machine and software can open one of the included file types. A laser-ready design usually contains vector paths—the lines your machine follows—rather than a flat photograph. Also check the physical cutting area. A wall panel designed as one large piece may not fit a compact machine without resizing or dividing it.
Resizing sounds harmless, but it can change slots, tabs and joints. Decorative wall art is usually forgiving; an interlocking box or lamp is much less so.
If pieces must slot together, treat the original dimensions as part of the design. If the project is a flat silhouette or layered picture, resizing is usually more flexible.
Know what the file formats are for
Common in craft software and easy to scale while keeping clean paths.
Useful in many laser and CNC workflows. Check import units after opening.
Good for editing the original vector artwork in compatible software.
Helpful for instructions and dimensions; editability varies.
Widely supported, though newer craft software may handle SVG more smoothly.
You don't need every format. You need one that opens cleanly in your workflow. After importing it, confirm the scale and check for duplicate paths—a duplicated cut line can send the laser over the same edge twice.
Match the design to your material
A delicate botanical pattern might look wonderful in thin plywood but become fragile when enlarged in heavy material. For slot-together projects, look for a stated material thickness or kerf allowance. Kerf is the tiny amount removed by the laser beam; ignore it and a press-fit joint may be loose—or refuse to fit at all.
When the designer provides a test piece, cut that first. It's a five-minute decision that can rescue an entire sheet.
Read the complexity hiding in the preview
Count the layers. Notice tiny interior pieces and narrow bridges that could snap. Then ask how the finished project is assembled: glue, slots, hardware, wiring or some combination of them?
Beginners often have a better first experience with a bold flat sign, a simple layered panel or a project with clearly numbered pieces. A dimensional lamp can be a brilliant later project once alignment and finishing feel familiar.
 Signs
SignsWelcome Sign Laser Cut SVG
View product →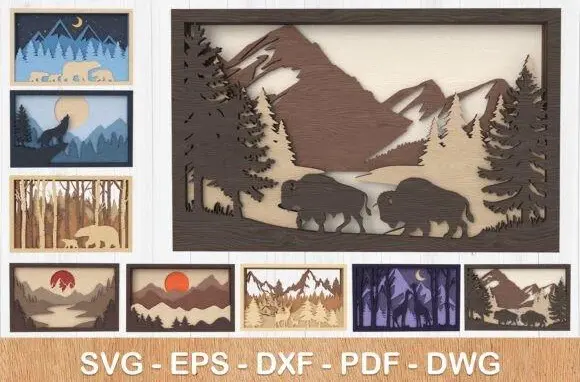 Home Decor
Nature Inspired Layered Wall Art Bundle SVG DXF
View product →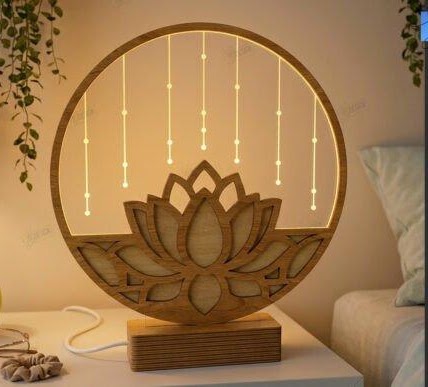 Lamps & Lighting
3D Round Lamp Laser Cut Night Light Files
View product →Check the license before planning to sell
Buying a digital file does not automatically grant every commercial use. Confirm whether the license covers physical finished products, print-on-demand, digital redistribution or modifications. A maker business usually sells the finished physical object—not the source file itself.
Keep the license terms or purchase record. If your shop grows, you'll be glad that detail isn't buried in an old browser tab.
The two-minute checklist
- My software opens at least one included vector format.
- The project fits my machine's cutting area.
- The design suits my planned material and thickness.
- Fitted parts include dimensions or kerf guidance.
- The layers and assembly method suit my skill and time.
- The license covers what I want to make or sell.
- The previews or instructions explain the build clearly enough.
Choose the file you can picture not only finished, but also halfway through—pieces on the table, glue nearby, instructions open. A project that suits your real workspace will beat a perfect-looking download every time.