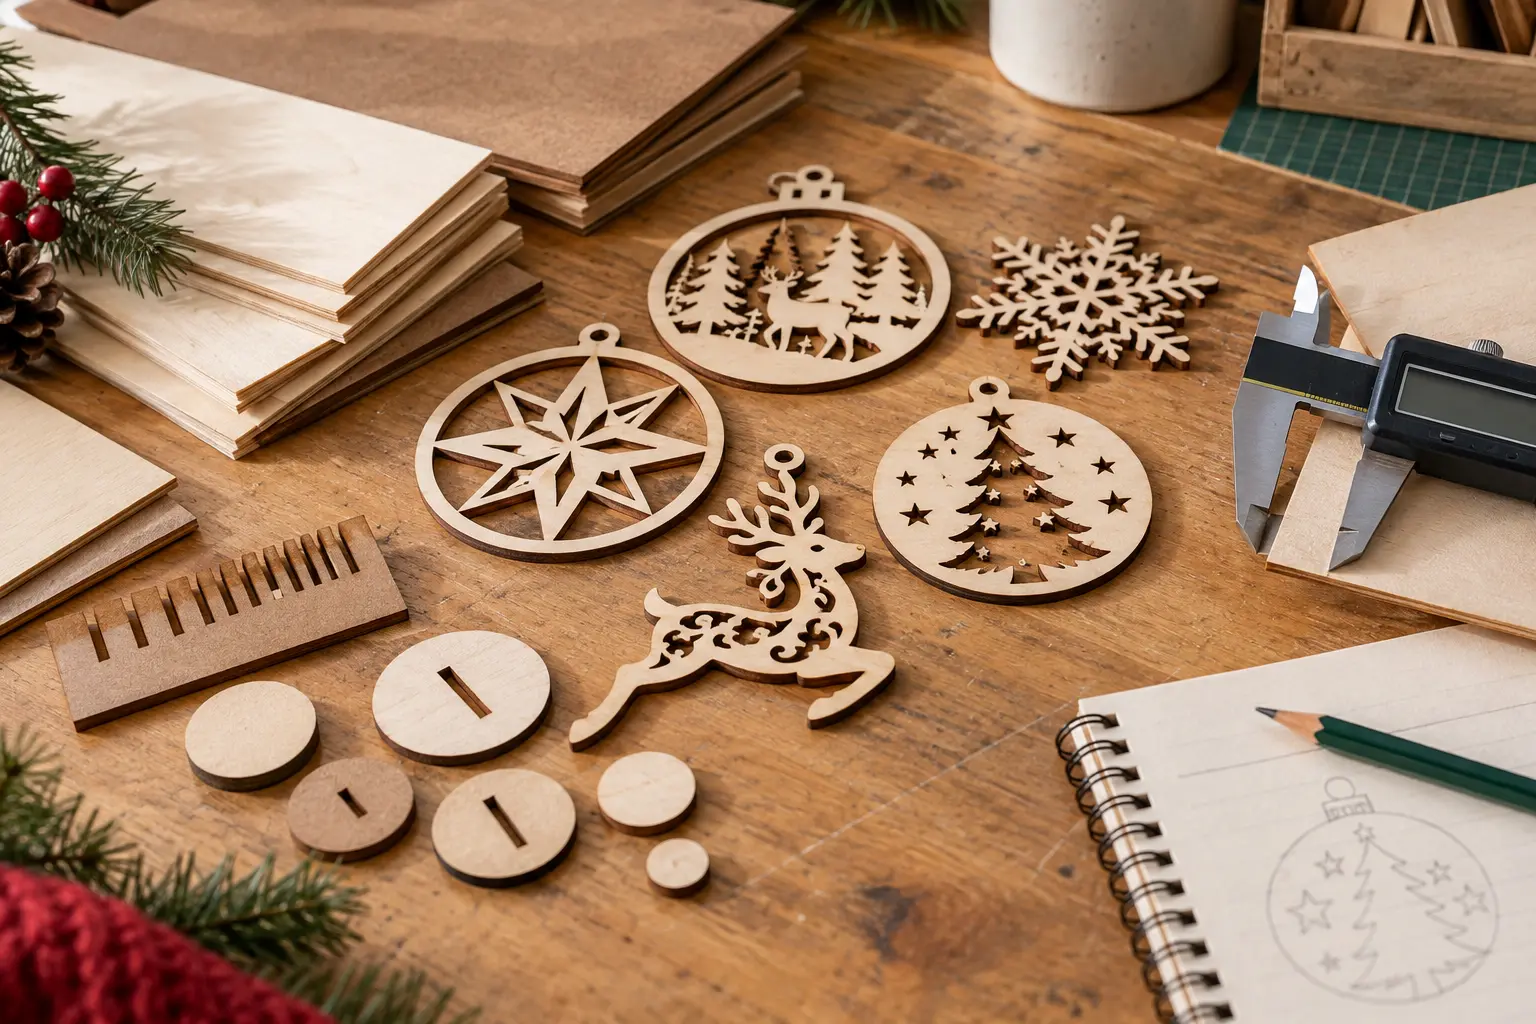
Christmas ornaments look like small, forgiving projects. Their size keeps material costs low, but it also concentrates every design decision into a few centimetres: thin bridges, tight interior cuts, a hanging hole and enough visual detail to feel special. The wrong sheet can make an elegant design heavy, fragile or frustrating to finish. The right one helps the ornament cut cleanly, hang comfortably and survive more than a single season.
There is no universal “best wood” or thickness. A layered ornament, a delicate snowflake and a personalized name design ask different things from the material. Use the finished object—not a familiar machine setting—as the starting point.
Begin with the ornament's job
Decide how the ornament will be used before choosing the sheet. A lightweight tree ornament must not pull a flexible branch downward. A gift tag needs room for writing or engraving. A keepsake for children should avoid needle-like points. A layered design needs enough stiffness to remain flat after glue and paint are added.
Also consider whether the design will be cut once or produced as a collection. A material that is pleasant for one detailed prototype may require too much sanding or masking for thirty market-ready pieces. Repeat production rewards predictable sheets, easy finishing and designs that nest efficiently.
Think beyond the bare cut piece. Paint, glue, an extra layer, ribbon, beads and packaging all add weight. Assemble one finished sample and hang it on a real branch before producing a full set.
Compare the most useful wood-based materials
Baltic birch or laser-grade plywood
Plywood is a strong all-round choice when the wood grain will remain visible or the ornament contains narrow connecting areas. Its crossed layers add stiffness, and a clean face can look finished with only light sanding and a clear coat. Quality matters: interior voids, glue pockets and uneven veneer can interrupt a cut or leave a weak edge. Use stock sold for laser work when possible and inspect both faces before placing the design.
MDF or fibreboard
MDF has no wood grain, so painted colour is even and engraved details can look consistent. It is often economical for prototypes, solid silhouettes and layered pieces that will be fully painted. The trade-off is a less decorative edge, more dust during sanding and weaker very fine bridges. Confirm that the specific sheet is suitable for laser cutting and follow the material supplier's safety guidance.
Veneer and very thin plywood
Thin stock is useful for delicate layers, inlays and ornaments that must remain exceptionally light. It can also warp more easily and may need a backing layer. Large open areas and long narrow shapes deserve extra support during handling and finishing.
Acrylic can be an attractive alternative for translucent or mirror-effect ornaments, but it behaves differently from wood and requires material-specific settings and ventilation. Never assume that an unfamiliar plastic is laser-safe; identify the material before it enters the machine.
Choose thickness by structure and weight
For many single-layer wood ornaments, material around 3 mm is a practical starting point: it usually feels substantial without becoming unnecessarily heavy. That is a starting point, not a rule. Actual sheet thickness varies, and the design's size and geometry can matter more than the label on the package.
Useful for fine overlays, small branches and layered accents; support broad or narrow shapes carefully.
Often suits single-layer ornaments, names and detailed silhouettes with a comfortable balance of stiffness and weight.
Better for larger plaques or chunky shapes than delicate tree ornaments; expect more weight and a more visible edge.
Layered files change the calculation. Three layers of 3 mm material create a piece roughly 9 mm deep before adhesive or finish. That may look luxurious on a display stand but feel bulky on a tree. Consider using a sturdy back layer with thinner decorative overlays, or scale back the number of layers rather than reducing every part of the design.
Measure the actual sheet with calipers. This is essential when layers include slots, tabs, stands or inlays. Never resize the whole file simply to make a slot fit; scaling changes the ornament, hanging hole and every other dimension at the same time.
Make sure the smallest details suit the material
The narrowest bridge is often more important than the ornament's overall size. Look closely at antlers, snowflake arms, lettering joins, evergreen tips and the area around the hanging hole. If a connection seems fragile on screen, test it at the intended finished size rather than judging a zoomed-in view.
Grain direction can influence strength in thin wood. Rotate the design if doing so gives a vulnerable feature better support, while still nesting pieces efficiently. For MDF, watch for narrow elements that may snap during cleaning or ribbon attachment. Rounded internal transitions generally survive handling better than sharp notches.
The hanging hole needs enough material around it to resist tearing. Check that it accepts the planned ribbon, hook or cord without forcing. If the ornament will be personalized, test the longest likely name; a short sample name can hide spacing and strength problems.
 Winter, Christmas & New Year
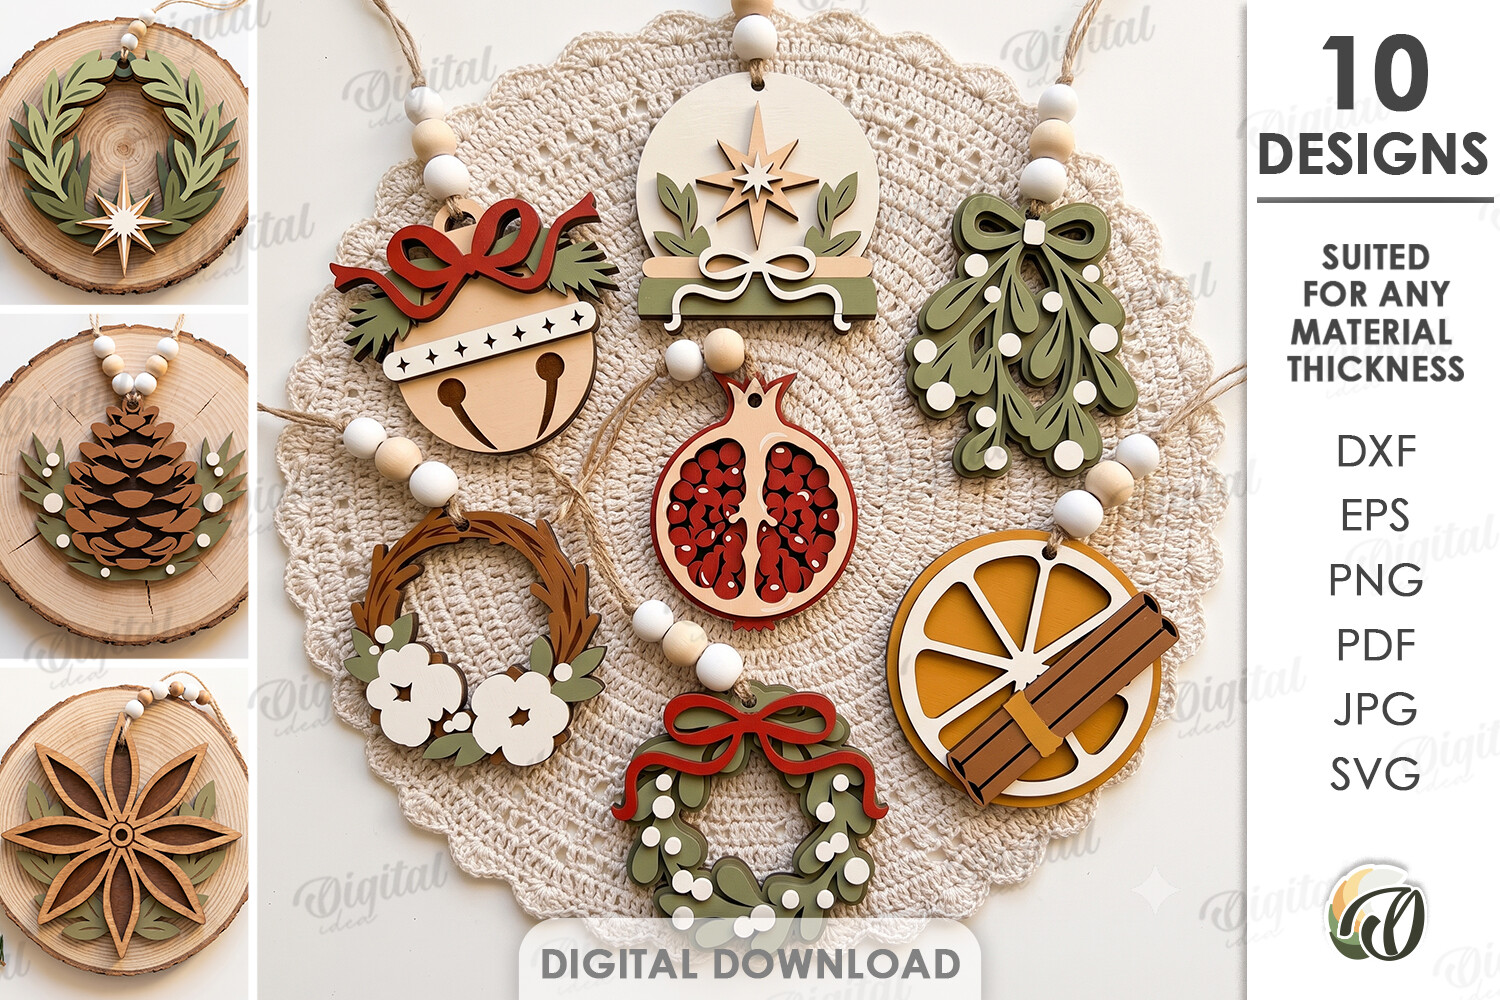
Minimal Christmas Tree Ornament Laser Cut Bundle
View product →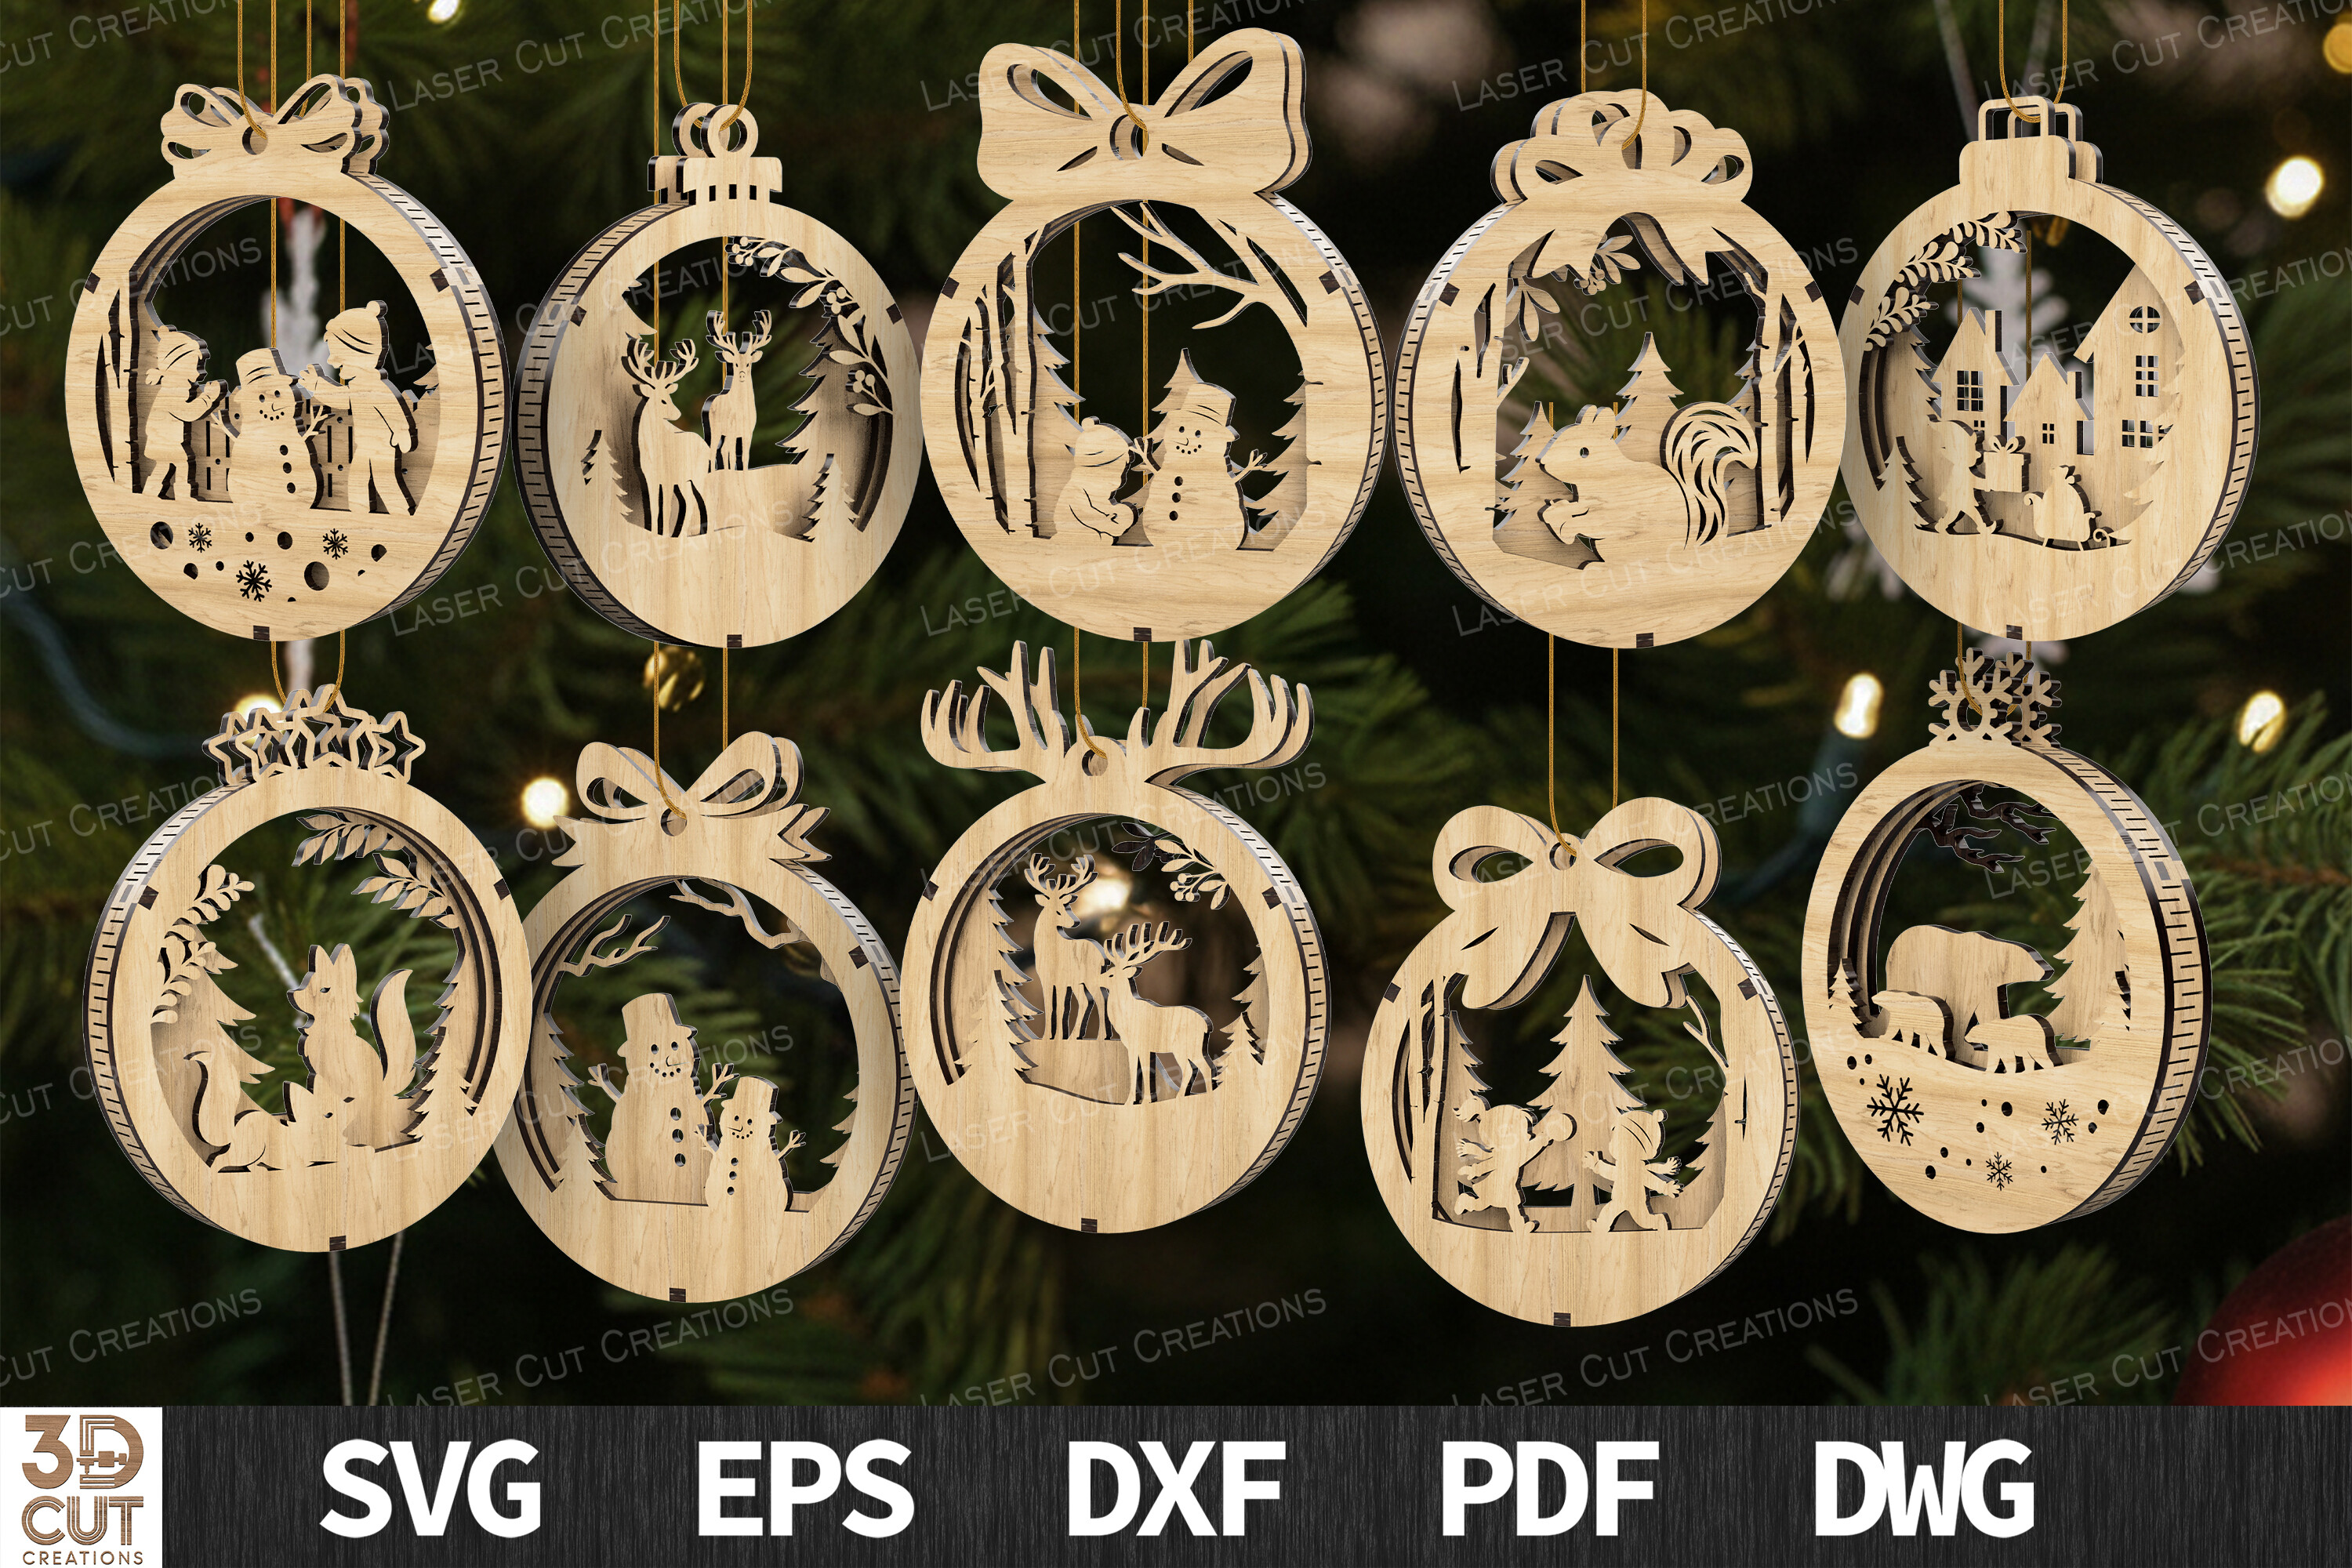 Winter, Christmas & New Year
Christmas Ornaments SVG Bundle for Laser Cutting
View product →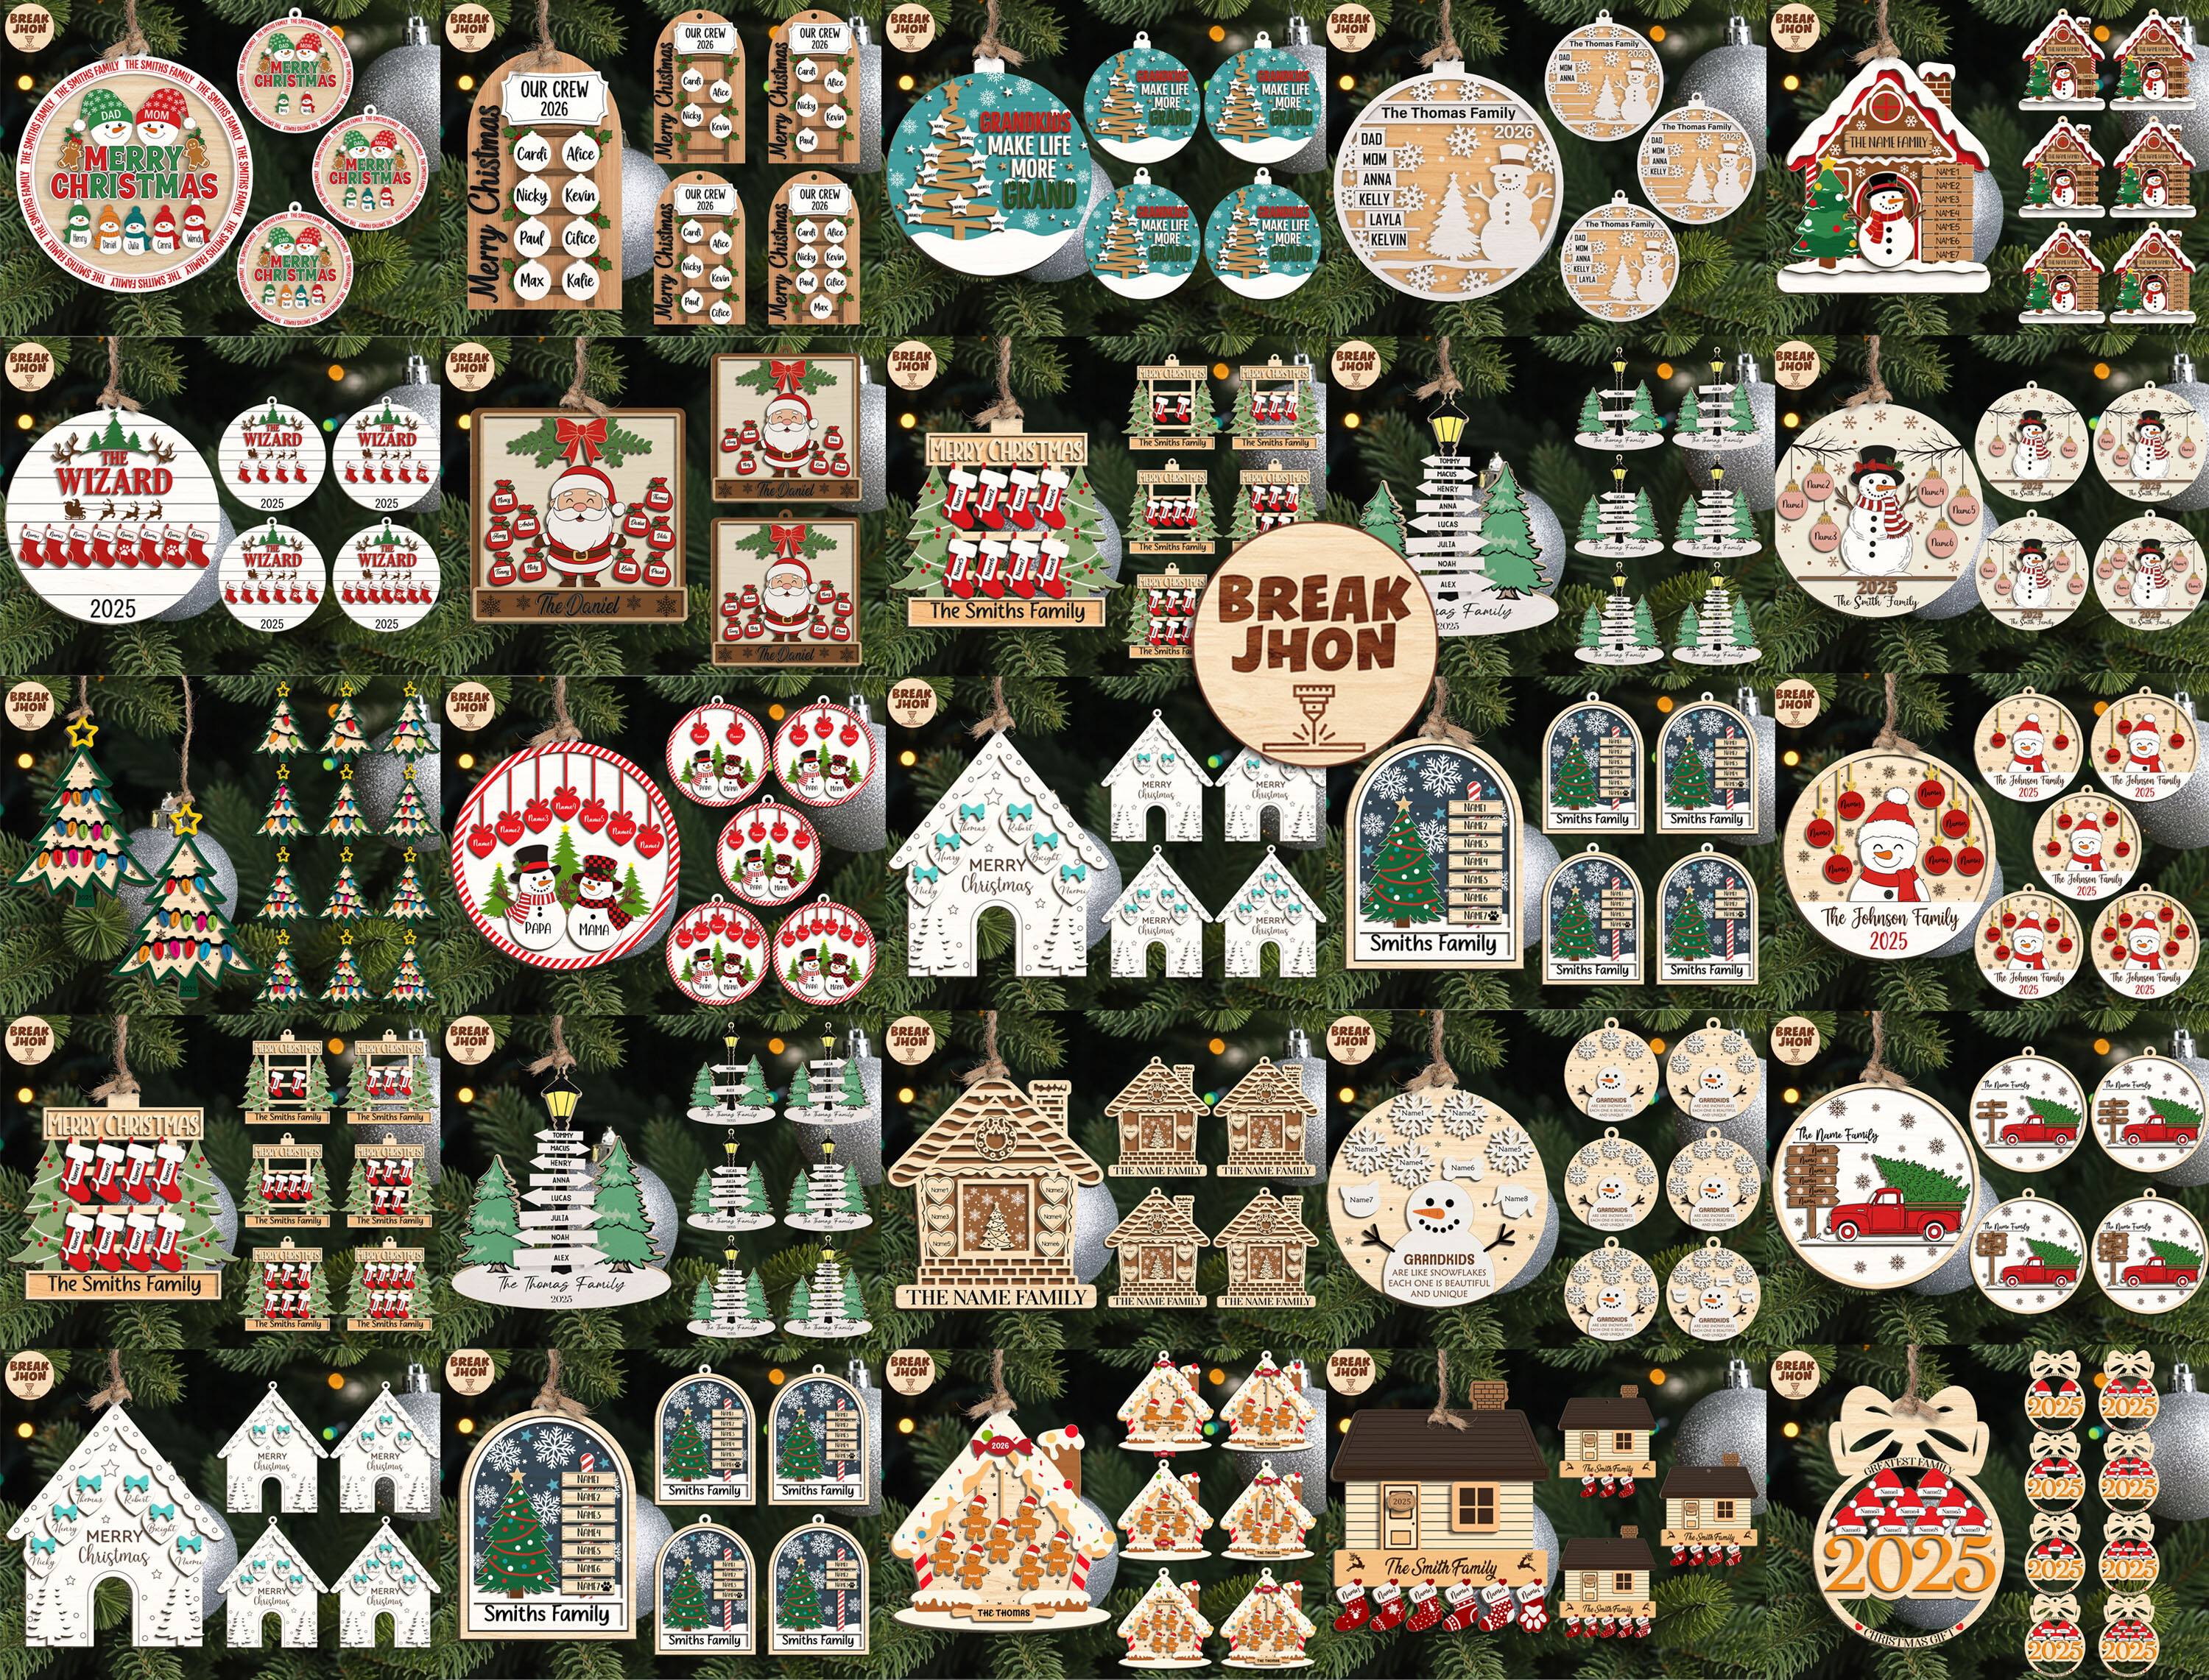 Winter, Christmas & New Year
Personalized Christmas Ornament Laser Cut Bundle
View product →Test kerf, fit and settings on the real sheet
Kerf is the narrow amount of material removed by the beam. It affects inlays and fitted layers, but it also changes the apparent weight of tiny details. A narrow line may become noticeably thinner after cutting. Use a small section containing the design's finest bridge, smallest opening and hanging hole rather than testing only a plain square.
Record the material supplier, measured thickness, machine, lens, focus method, speed, power, passes and air assist. Change one setting at a time. The goal is not simply to separate the shape from the sheet; it is to produce an edge you can finish efficiently without excessive scorching or residue.
If the cut is incomplete, do not immediately assume more power is the only answer. Check focus, flatness, lens condition, airflow and hidden glue pockets in plywood. A sheet that varies unpredictably may be a poor production choice even when one area cuts well.
Choose the finish before you cut the batch
Natural plywood benefits from attractive grain placement and clean faces. Painted MDF benefits from a smooth, consistent surface. Masking can reduce smoke marks, but intricate pieces take longer to weed and can break while the masking is removed. Test the complete finish—sanding, paint, stain, glue and ribbon—on one ornament before committing to a batch.
Finishing both sides matters when the ornament will rotate on a tree. Even if one face carries the main design, the back should look intentional. For layered pieces, use adhesive sparingly and press them flat while curing. Seal only with products appropriate to the material and intended use, following the finish manufacturer's instructions.
A practical pre-cut checklist
- The material is identified and suitable for laser cutting.
- The finished thickness and weight suit a hanging ornament.
- The actual sheet thickness has been measured, not assumed.
- The smallest bridge, opening and hanging hole have been test-cut.
- Layered pieces align without forcing and remain flat after gluing.
- The full finishing process has been tested on one complete sample.
- Settings and material details are recorded for the next batch.
The most useful sample is not the prettiest first cut. It is the one that tells you what to repeat. Once material, thickness, settings and finish work together, even a small ornament becomes a reliable project rather than a seasonal experiment.